plastering prep
Plastering preparations.
This month we mainly undertook more preparations readying ourselves for the next phase of plastering. As we are not having any skirting boards or architraves this meant doing a lot of shadow gap beads! We have two types of plastering bead: one for the base of the walls which has a snap-off section that allows a shadow gap of any size to be created between 5 - 20mm high (in 5mm increments). Generally speaking we prefer to work with galvanised beads as they hold their shape better than plastic, and they tend to have a more pronounced round on the corner which is easier to plaster from, however we couldn't find a galvanised bead of this sort that would allow a gap of 10mm, which was what we wanted. So we settled on this one by Renderplas, which is also fully recyclable. For the corners and around the door / window openings we are using a standard galvanised angle bead by British Gypsum. These photos show the process...


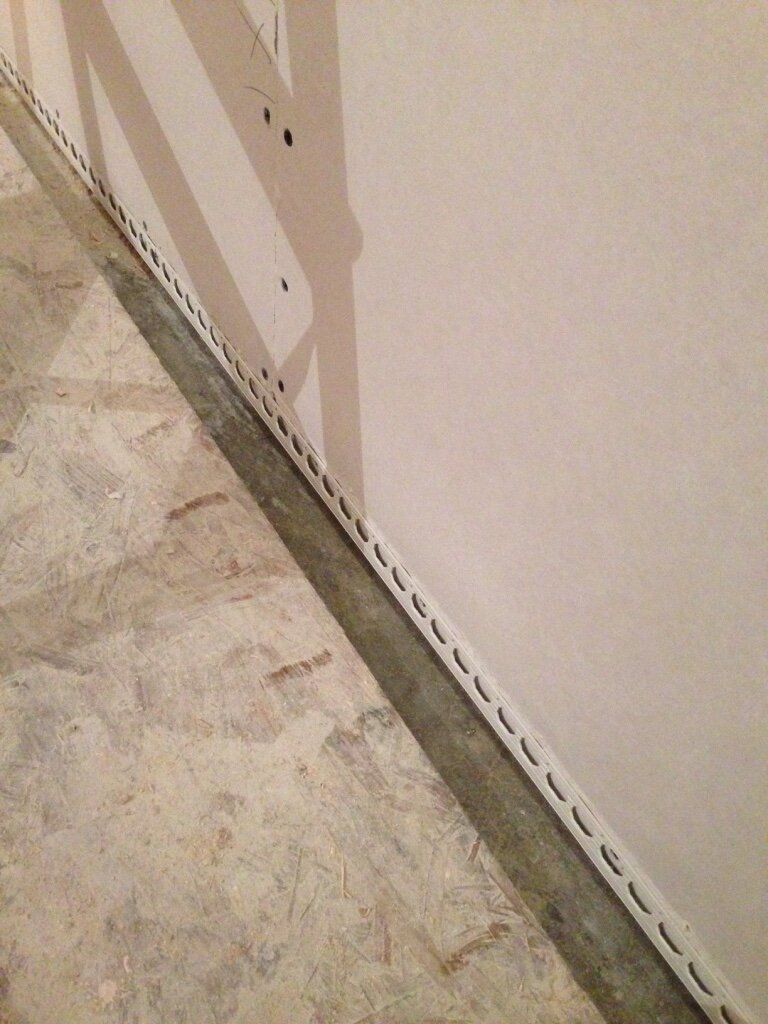

Generally the base bead was fitted to the tapered edge of the sheet and this was then offered up to the wall, however when two edges meet such as at a door opening, the main wall is completed first with the remainder of the bead left protruding ready to take a small piece of plasterboard next to the actual opening. We used 10mm shims to keep this from buckling while the board is inserted.
In this instance we had to create our own taper on the edge of the board that will drop down into the base bead as we wanted to used the proper taper up the door edge to make sure this edge was vertical. We used a drywall rasp to achieve this (doing the same on Fermacell is considerably harder going as it is so much more dense!). The board is then dropped down into the base bead...and screwed to the service cavity batten behind, which in turn holds the bead in place. Any protruding sections of bead are nailed in place.
