parapet
Parapet and roof construction completed & outer frame begins!
The last two weeks have seen two more major steps forward in terms of both the parapet construction and the final preparations for the roof waterproofing, as well as a good start made to the outer timber frame of the twin wall construction.

In an effort to simplify the construction process we have developed the parapet construction over the last few months from the initial design, which has essentially led to the removal of a diagonal rake inside the roof area and the addition of a long sheet of plywood that connects the parapet wall framing to the first floor wall framing. This means that this section of wall has to be insulated before the structural plywood is fitted as we will not be able to access this space later.
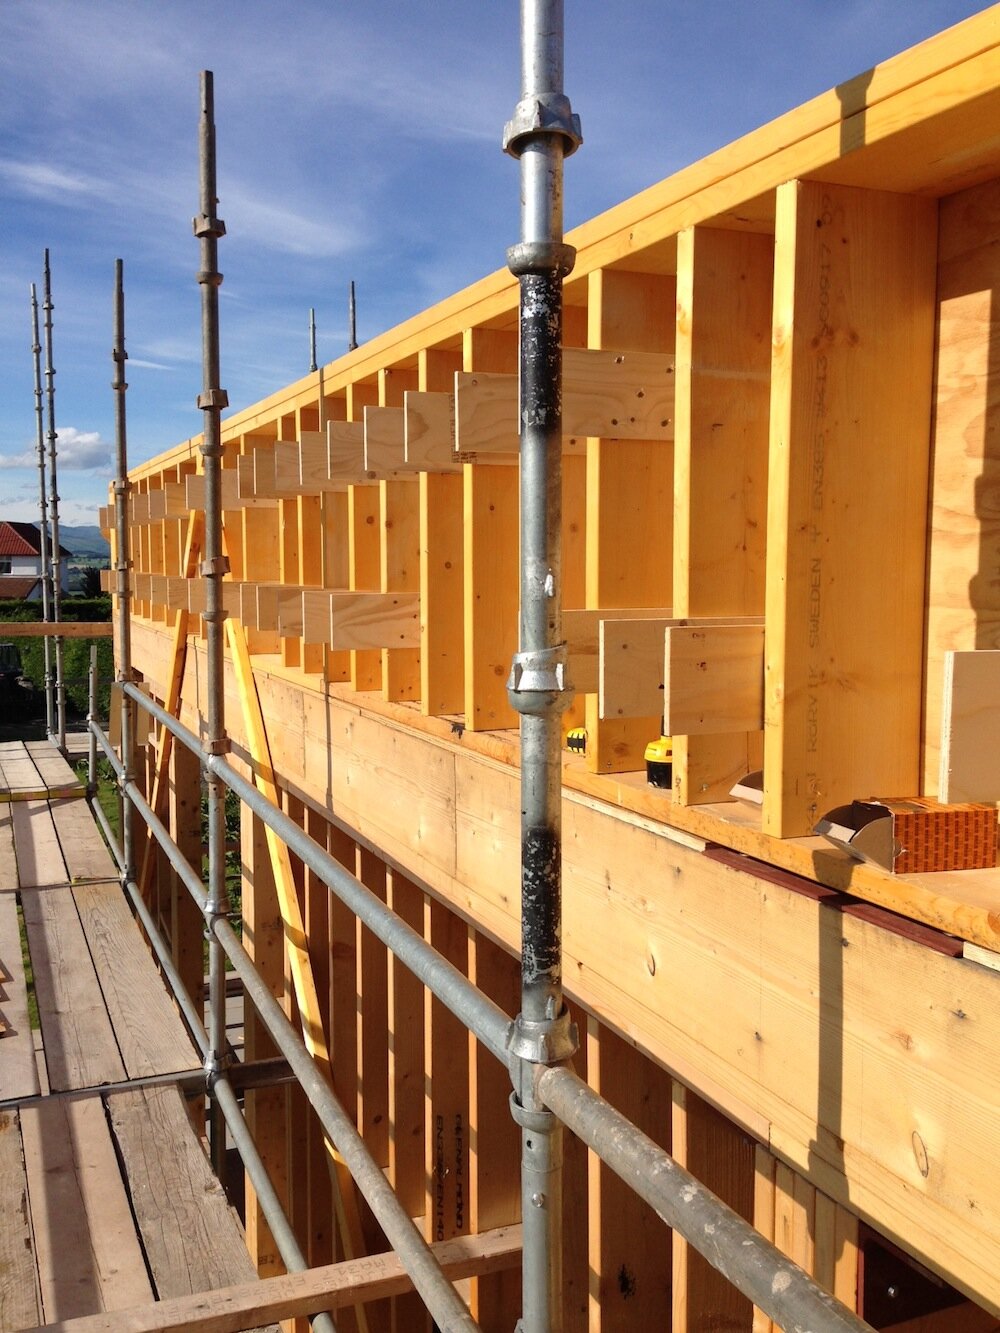
The first step was to fit the numerous plywood gussets at the parapet level which tie the two timber frames together.
Then we fitted the insulation between the studs in two layers due to the thickness of the wall.


As we are using Steico Flex wood fibre insulation we cut the pieces oversize by10mm to accommodate any future movement within the timber frame, and avoided overlapping joins between layers. Finally the plywood layer was routered to fit over the gussets and was fixed back to the frame.

In order to complete the parapet construction the outer timber frame had to be constructed as this helps to support the capping around the parapet perimeter. We had the gussets pre-cut to the 2 depths we need by our timber supplier, Rowan Timber, which has made life a lot simpler!
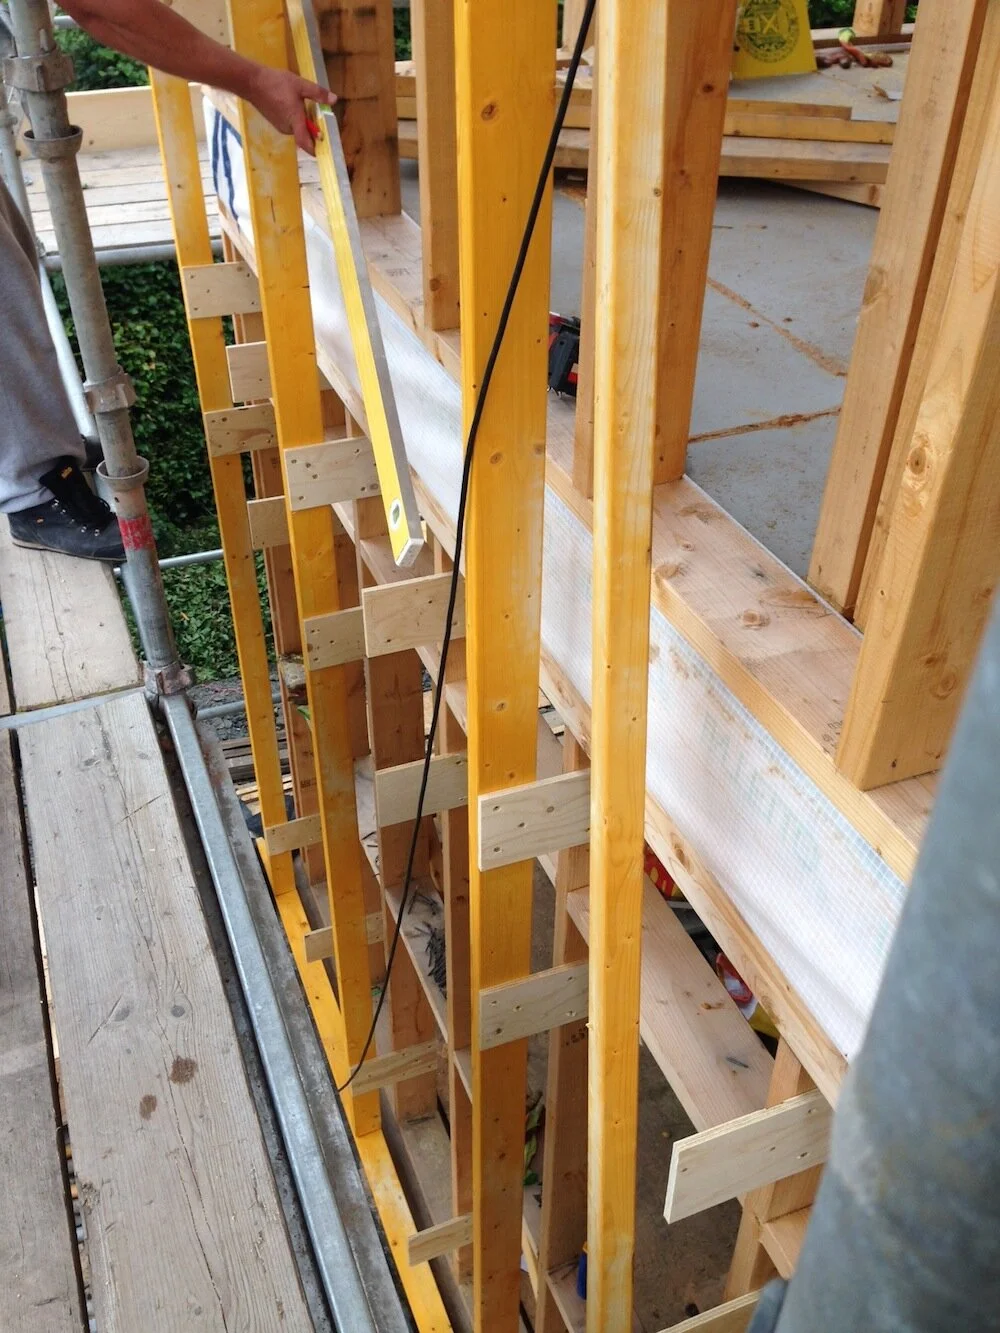


The inner edge of the gusset is fixed flush with the inner edge of the main structural frame which made it very straightforward to align and plumb the outer frame. These gussets are at pretty frequent centres as you can see, however they are very important as they tie the two frames together as well as help to stiffen the whole building. The corners are a particular situation where an open box is created by the timber frame which can then be filled with insulation prior to the outer racking board being fitted - I will come back to this over the next few weeks as we start to insulate the building prior to the outer boards being fitted.


These photos show the 60mm space between the two timber frames that will later be filled with more Steico Flex insulation.


The main roof deck also had the firring battens fitted which created a 1 degree slope on the upper deck, and between each of these we laid more flexible insulation. Although we do not need this insulation layer to meet the desired U-Value of 0.09W/m2K that the roof construction achieves we felt it was good practice to include it rather than having another static airspace within the roof. (The construction is a warm roof which is the only option really permissible in Scotland for a completely flat roof, so all of our insulation sits above the structure, which results in a 300mm deep static air space between the rafters.)


We also fitted our two roof lights. The one in the foreground is a Passivhaus certified unit, which sits above the shower in the master bedroom, and only opens approximately 200mm for ventilation purposes. As we needed to have a roof access point somewhere for maintenance purposes we decided to have a second glazed roof light that could fulfill this function over the hallway on the first floor. Although not a PH certified component this rooflight still meets the airtightness and thermal criteria. Both roof lights have an integral insulated GRP upstand which the roof insulation will overlap with, creating a virtually thermal bridge free detail. These rooflights were supplied by DVS and were very straightforward to install simply being fixed to the plywood deck / firring battens.
Finally, the top layer of roof deck plywood was laid, the capping plywood was fitted on a 5 degree slope, the whole roof area was cleaned up and is now ready for the roof waterproofing to begin tomorrow!